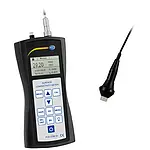


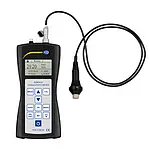
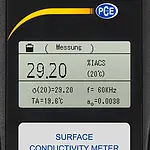

Large measuring range up to 112% IACS or 65 MS/m with lift-off and temperature compensation, memory, PC-compatible software, 60 kHz operating frequency
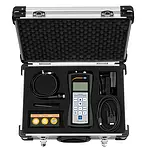
PCE-COM 20 is a portable handheld non-destructive conductivity tester for metals. This non-destructive testing (NDT) device uses eddy current to determine the electrical conductivity of non-ferrous metals such as aluminum and copper.
Featuring an operating frequency of 60 kHz, the conductivity meter has a large measuring range of 0.51 ... 112% IACS with an accuracy of +/- 0.5% at 20°C / 68°F. 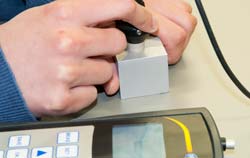
Measurement of the electrical conductivity of non-ferrous metals, such as aluminum, copper, titanium, magnesium or bronze, is necessary in applications involving electrical conductors and the characterization of alloys. Typical application areas are the assessment of strength differences in heat-treated or hardened materials, the authenticity testing of coin alloys, the verification of alloy inhomogeneities in critical components and the sorting of materials.
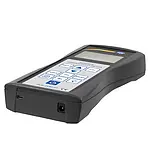
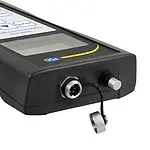
The conductivity meter is powered by an internal battery that can be charged via the interface on the bottom of the unit. In addition to the connection for the charging adapter, there is a USB interface allowing for the transfer of measurement data to a PC for more detailed analysis.
The conductivity test is a part of non-destructive testing (NDT). The conductivity of a material describes its ability to conduct electrical current. Conductivity is always present when there are free charge carriers such as electrons or ions present inside the material.
This can be clearly explained on the example of metallic materials. 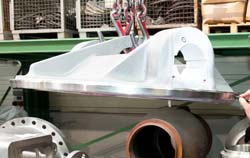
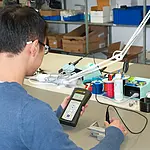
The conductivity test finds therefore its application when reviewing alloy compositions (material sorting), in the evaluation of hardness properties, when material defects such as weariness or cracking are suspected or in the quality control for the classification of workpieces.
| Operating frequency | 60 kHz, sine wave |
| Conductivity measuring range | 0.51% IACS ... 112% IACS 0.3 MS/m ... 65 MS/m |
| Resistance range | 0.015388 ... 3.33333 Ω • mm² / m |
| Conductivity measuring resolution | 0.01% IACS (at <51% IACS) 0.1% IACS (at 51% IACS ... 112% IACS) |
| Conductivity measuring accuracy | ± 0.5% at 20°C / 68°F ± 1% in the range 0 ... 40°C / 32 ... 104°F |
| Lift-off compensation | 0.5 mm / ≈ 0.0197 in |
| Temperature measuring range | 0 ... 50°C / 32 ... 122°F |
| Temperature measuring accuracy | ± 0.5° |
| Temperature compensation | Automatic adjustment of conductivity result to the value at 20°C / 68°F |
| Operating conditions | 0 ... 50°C / 32 ... 122°F, 0 ... 95% relative humidity (RH) |
| Display | LCD, backlit |
| Menu languages | English, German, Japanese |
| Power supply | Internal, rechargeable battery |
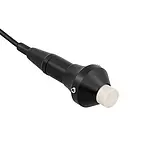
| Probe diameter | 14 mm / ≈ 0.55 in |
| Memory | Stores up to 500 groups of measurement values |
| Data interface | USB port connection |
| Dimensions | ≈ 220 x 95 x 35 mm / 8.66 x 3.74 x 1.38 in |
| Weight | ≈ 415 g / 1 lb (with probe) |