Profilometer PCE-RT 2300-ICA Incl. ISO Calibration Certificate

Order no.: PCE-RT 2300-ICA
GTIN (EAN): 4250348726667
2.535,90 €
3.017,72 €
ISO Calibration
price ex. (VAT / delivery)
:
4250348726667
PCE-RT 2300-ICA
Delivery time: 10 - 14 days

Description

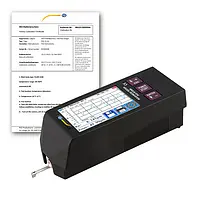
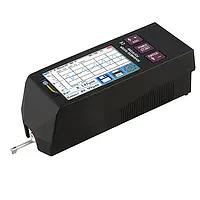
Profilometer PCE-RT 2300-ICA incl. ISO calibration certificate
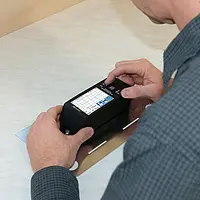
Portable material tester for the rapid detection of roughness (Ra, Rz, Rq, Rt and many more) / Detachable motor unit / Touch screen Interface / Range of 320 μm or 12.6 mil

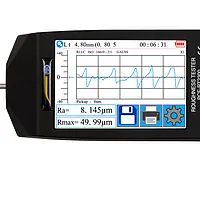
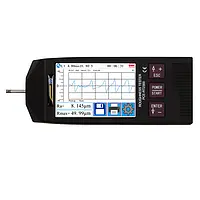
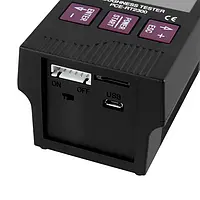
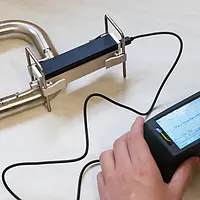
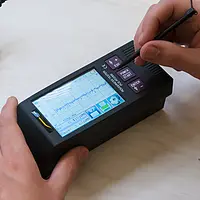
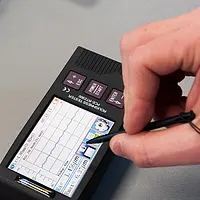
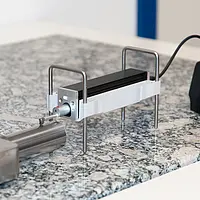
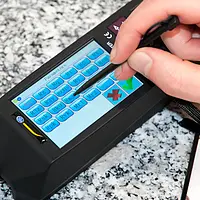
The profilometer PCE-RT 2300 is used to measure the roughness of surfaces. The PCE-RT 2300 profilometer has a removable motorized sensor. This property makes it possible to determine the surface profile roughness with the profilometer even on small or narrow profiles. The measured values ​​are displayed on a large LCD display of the profilometer. This display is also used by the profilometer. The profilometer is powered by an internal battery with voltage. This battery can be powered by a conventional USB power adapter.

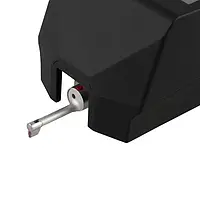
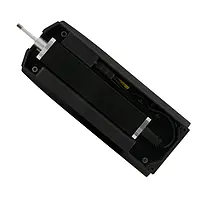
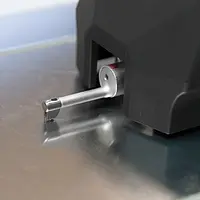
The detachable motorized sensor is connected by a cable to the main unit of the profilometer gauge. The diamond stylus is installed in the motorized sensor. This presses with a maximum force of 4 mN on the surface from which the roughness profile is to be measured. The profilometer measures according to the valid ISO, ANSI and JIS standards for profilometer measuring instruments.

Worth knowing about the profile measuring device:

Rz = average roughness
The mean roughness depth Rz is the arithmetic mean of the largest individual seam depths of several adjoining individual measuring sections.

Ra = arithmetic mean roughness
Ra is the generally recognized and internationally applied roughness parameter. It is the arithmetic mean of the absolute values ​​of the profile deviations within the reference line. The measured value Ra is always smaller than the Rz value determined on the same roughness profile.

Rt = maximum roughness
The maximum surface roughness Rt is the distance between the highest and the lowest point of the measuring section.

Rq = Square Mean Roughness
Rq is the root mean square of all ordinate values ​​within the individual measurement distance l. Rq corresponds to the designation RMS (Root Mean Square).

Highlights

- Touchscreen interface and PC connection
- Measurement of all roughness profile values
- Battery and mains operation
- Different filters adjustable
- Diamond test head
- Removable motorized sensor
- Large measuring range of  Rz: 0.02 μm ... 320 μm; Ra, Rq: 0.005 μm ... 32 μm 
- Incl. ISO calibration certificate

Specification

Measuring range
Rz: 0.02 μm ... 320 μm; Ra, Rq: 0.005 μm ... 32 μm, Rz = 320µm (-160µm~160µm) / 12600μin (-6300μin~+6300μin)  
Accuracy± 10%
Repeatability± 6%
Resolution
± 20 μm: 0.01 μm
± 40 μm: 0.02 μm
± 80 μm: 0.04 μm
Measurement Parameters Ra, Rz, Rq, Rt, Rc, Rp, Rv, R3z, R3y, Rz (JIS), Ry, Rs, Rsk, Rku, Rmax, Rsm, Rmr, RPc, Rk, Rpk, Rvk, Mr1, Mr2
Measurement StandardsISO4287, ANSI b46.1, DIN4768, JISb601
GraphicPrimary profile (roughness + waviness)
Roughness profile (roughness)
Loading curves
Measuring filterRC, PC-RC, Gaus, DP
Measuring section (Cut Off)                                       0.25 mm, 0.8 mm, 2.5 mm
Measuring length1 ... 5* measuring path
Max. 17.5 mm (including pre- and post-run)
SensorDiamond probe tip 90° cone angle
5 μm
Contact force sensor<4 mN
Feed rate   0.25 mm: 0.135 mm / s
0.8 mm: 0.5 mm / s
2.5 mm: 1 mm / s
Display 3.5" LCD screen
Power supply 3.7V Li-Ion Battery
5V / 800-mA USB Power Adapter
Operating time 50 h
Operating conditions -20 ... 40°C / -4 ... 104°F, max. 90% rh
Storage conditions -40 ... 60°C / -40 ... 140°F, max. 90% rh
Dimensions Main unit: 158 x 55 x 52 mm / 6.2 x 2.2 x 2 in
Motor unit: 115 x 23 x 27 mm / 4.5 x 1 x 1.1 in 
Weight About 500 g / 1.1 lbs


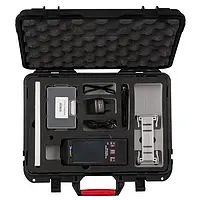
Delivery Scope

1 x Profilometer PCE-RT 2300
1 x Microprobe
1 x Removable motorized sensor
2 x Connection cable for motor unit
1 x Charger
1 x Interface cable
1 x Transport case
1 x Manual
1 x ISO calibration certificate