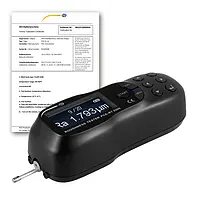
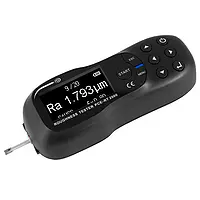
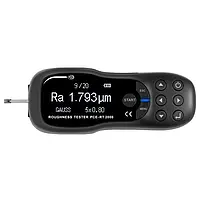
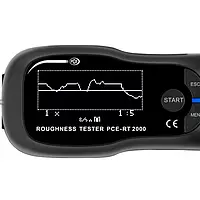
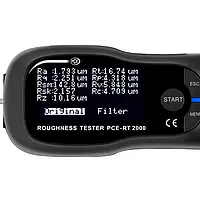

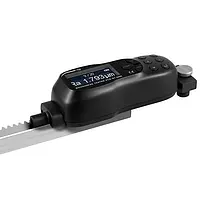


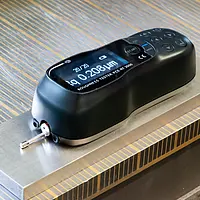

Rz = average roughness
The average roughness depth Rz is the arithmetic mean of the largest single-order depths of several adjacent individual measurement sections.
Ra = arithmetic mean roughness
Ra is the generally recognized and internationally applied roughness parameter. It is the arithmetic mean of the absolute values of the profile deviations within the reference distance. The measured value Ra is always smaller than the Rz value determined on the same roughness profile.
Rt = maximum roughness
The maximum surface roughness Rt is the distance between the highest and the lowest point of the measuring section.
Rq = Square Mean Roughness
Rq is the root mean square of all ordinate values within the individual measurement distance l. Rq corresponds to the designation RMS (Root Mean Square).
| Measurement parameters | Ra, Rq, Rsm, Rsk, Rz, Rt, Rp, Rv, Rc |
| Measuring ranges | Ra, Rq, Rc: 0.005 μm ... 16 μm Rz, Rt, Rp, Rv: 0.02 μm ... 200 μm Rsm: 5 μm ... 1000 μm Rsk: -1 ... 1 |
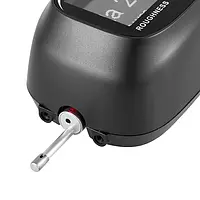
| Radius stylus tip | 5 μm |
| Material stylus tip | Diamond, 90° angled |
| Max. Recommended force for static measurement | 4 mN (0.4 gf) |
| Measuring principle | Inductive |
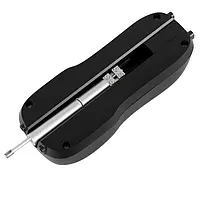
| Radius longitudinal guide bar | 45 mm / 1.8 in |
| Standards | ANSIB46.1/ASMEB46.1 (DIN EN ISO 4287) |
| Maximum driving distance | 15 mm / 0.6 in |
| Cut-off wavelength (cut off) | 0.135 mm / s at cut-off wavelength: 0.25 mm 0.5 mm / s at cut-off wavelength: 0.8 mm 1 mm / s at cut-off wavelength: 2.5 mm Reversing speed: 1 mm / s |
| Measurement accuracy | <± 10% |
| Repeatability | <6% |
| Display | OLED |
| Units | μm / μinch (switchable) |
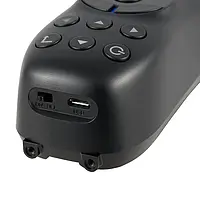
| Interface | Micro USB |
| Power supply | Rechargeable Li-ion battery |
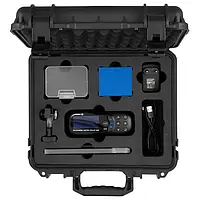
1 x Microprobe
1 x Protective cap for buttons
1 x Clamping device
1 x Software
1 x Calibration plate
1 x Roughness standard
1 x USB cable
1 x Charging adapter
1 x Transport case
1 x User manual
1 x ISO calibration certificate
N.B. Calibration certificates are issued specifically for the customer and are excluded from the right of return.